How to Ice Tie Dye

Tie dye has been around for thousands of years, and it is a look that never goes out of style. Since the 1960s, tie dye shirts have been a staple of American wardrobes, but the art of customizing shirts with vibrant colors and patterns has seen an enormous resurgence in popularity since the start of the COVID-19 pandemic. As people sought creative ways to keep themselves busy while in lockdown, retailers could barely keep tie dye kits and white t shirts for tie dye in stock.
Chances are, you have tried your hand at the classic tie dyeing process. You might even be an expert at creating designs like swirls, hearts, or sunbursts. Though you may be skilled in the art of traditional tie dye, there could be a technique that you haven’t tried yet: Ice tie dye.
Garments customized using ice tie dye have a unique, almost magical appearance. Instead of bunching and tying shirts then squirting liquid dye over them, this project involves placing ice cubes on the fabric and sprinkling powdered dye directly on top. As the ice melts, it dictates how the dye bleeds and where it lands on the material. While no two tie-dyed shirts are ever exactly alike, shirts made using ice are even more unique. It’s almost impossible to predict how the colors will land and what the final product will look like, so every project is a surprise.
Our Blank T-Shirts Are Perfect for Tie Dyeing!
The dye powder you usually mix with water before tie dyeing shirts is made up of multiple color pigments. When combined with water, they mix together to create a single color. If you sprinkle the powder over ice, though, each of the individual pigments has a chance to make an appearance on your shirt. You might be surprised to find a few spots of beautiful blue amid your purple dye or spot some flecks of red emerge from black dye. If you are new to ice tie dye, this is one of the most exciting parts of the entire project. And even if you have tried it before, using different brands of dye can yield completely different results. Experimenting with different colors and brands is one of the best parts of the process.
Whether you have old t-shirts laying around or you are thinking about ordering bulk wholesale t-shirts to customize, keep reading to learn how to ice tie dye and create your own one-of-a-kind wearable art.
Gather Your Supplies
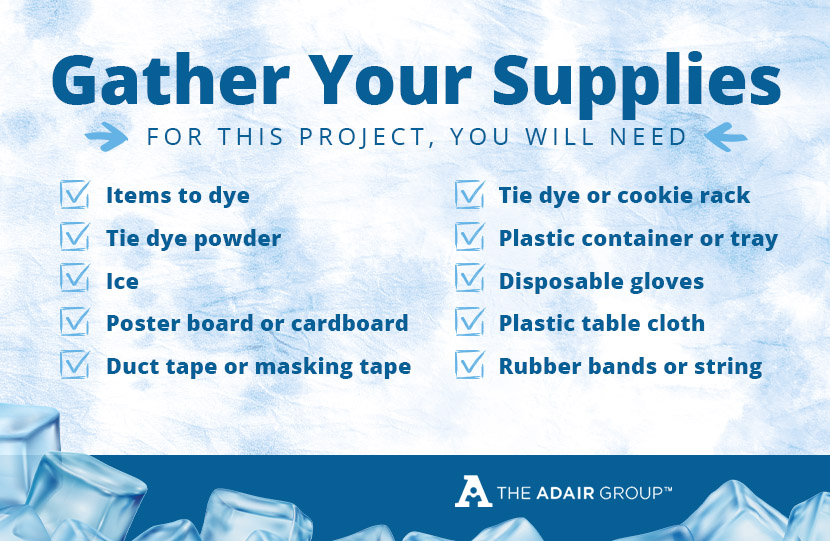
Having the right supplies is the first step of any successful crafting session. For this project, you will need:
- Items to dye (T-shirts and other items made from 100% natural fibers work best. Cotton, linen, and rayon are all excellent options.)
- Tie dye powder
- Ice
- Poster board or cardboard cut into 2-3” wide strips
- Duct tape or strong masking tape
- Tie dye or cookie rack
- Plastic container or tray for the rack to sit on top of
- Disposable gloves
- Plastic table cloth or trash backs to protect your work area
- Rubber bands or string
Preparing Your Item for Dye
For best results, we recommend pre-washing your shirt (or whatever items you plan on dyeing). Use your regular detergent, but do not add any fabric softener. For vibrant colors, dry the article thoroughly. Leave damp if you would prefer a more muted or watercolored look.
Check the instructions on your fabric dye to determine if any other prep work is needed. If you are using a product like Tulip® One-Step Tie-Dye®, no additional preparation is necessary. When using other types of dye, though, you may need to soak your items in a mixture of soda ash and water. The instructions on the packaging for your dye should let you know whether this step is necessary.
Cover your work surface with a plastic table cloth or trash bags. Even if you are careful, it’s easy to spill the dye powder. And it’s surprising just how much of a mess a few specks can make! Take your time with this step, and make sure your work area is completely covered. Tape down the edges, if necessary, to keep the cover from moving. If you are thinking about doing this project outside to cut down on the mess, make sure it is not windy. Even the slightest breeze can scatter powdered dye and make a big mess.
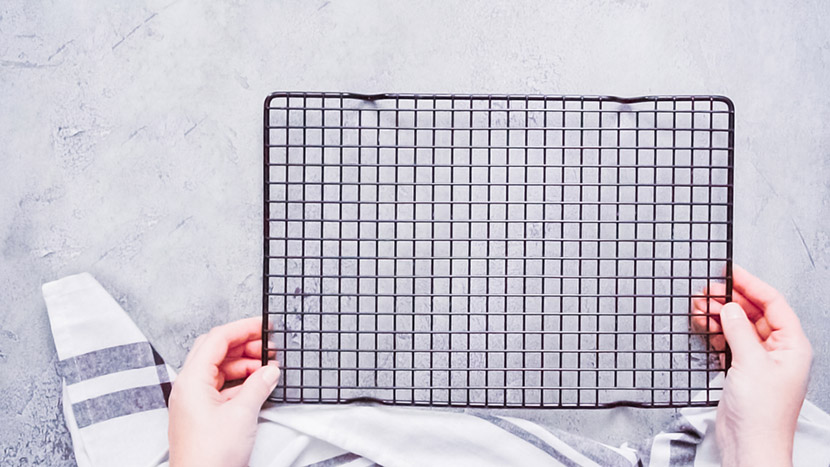
Place the tie dye/baking rack on top of a container that will catch the dripping as the ice melts. A plastic tray or bin works perfectly. In a pinch, layers of paper towels work, too. Be sure to use enough to absorb all the water from the ice.
If you want to keep things simple, scrunch your shirt up, and place it on the rack. If you are feeling a bit fancier, you can fold the item and secure it with rubber bands to create classic tie dye patterns. Go with your favorite design, or try your hand at a new tie dye technique. Whichever option you choose, the finished item will look incredible.
Form a ring using your cardboard or poster board strips and tape. It should be large enough to fit around the item you are dyeing, but it needs to be snug. Its job is to keep the ice on top of your item, so the dye will land on the fabric rather than running off the sides. Once you have everything set up, it is time to move on to the fun part!
Adding the Ice
If you are one of the many people who has a favorite type of ice, you will have no trouble understanding why the kind of ice you use for this project matters. If not, you will just have to trust us on this one: All ice is not the same. While any type of ice will technically work for this project, different types yield different results.
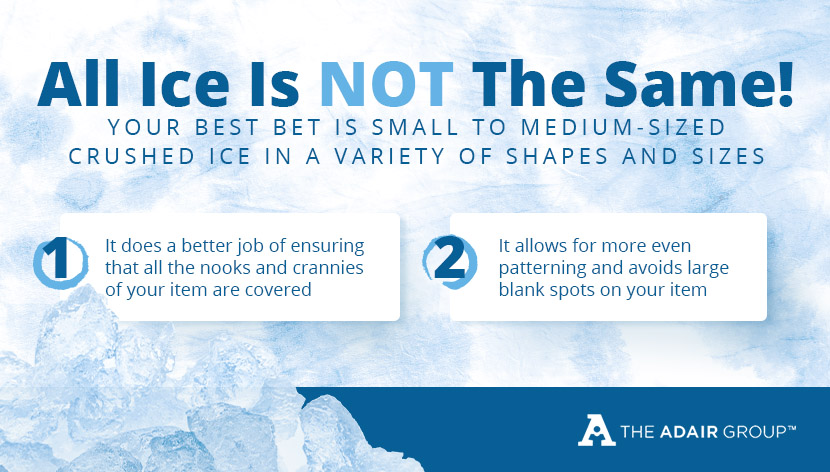
For ice tie dyeing, your best bet is small to medium-sized crushed ice in a variety of shapes and sizes. There are a few reasons why this is better than larger pieces or cubes that are uniform in size. First, smaller crushed ice does a better job of ensuring that all the nooks and crannies of your shirt or other item are covered. Second, it allows for more even patterning. Large ice blocks create blank spots, and cubes that are all the same size can create unwanted patterns.
If the ice you have on hand is large, we recommend smashing it up with a hammer to make smaller pieces.
Once your ice is ready to go, place a relatively even layer of it on top of the item you are dyeing. It does not have to be perfectly even, but it should cover the entire object.
Applying the Dye
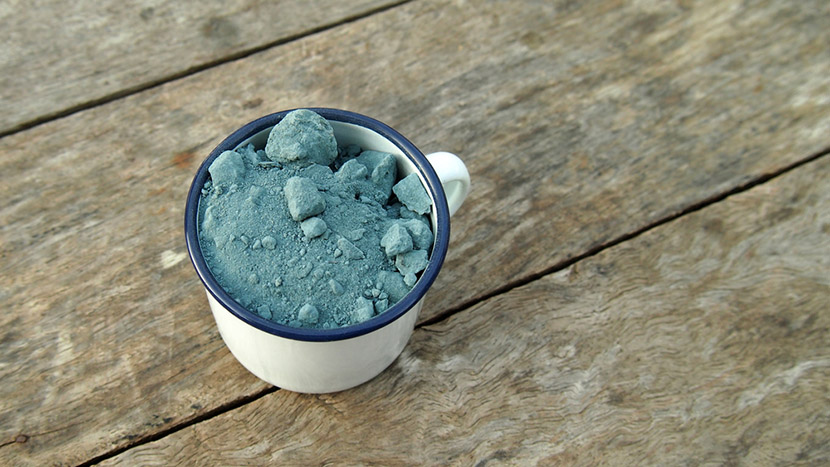
This is where the magic really starts to happen! First, put on your gloves, so you don’t stain your skin. Then, open up your dye, and carefully pour a bit onto a plastic spoon. Alternatively, you can pour the dye into a disposable cup and scoop it out. This option tends to work best when ice dyeing with kids. Gently sprinkle the powdered dye over the ice, taking care to avoid large clumps.
Add colors to the item one at a time, and try to disperse them across the surface of the ice as evenly as possible. Be mindful of whether you are placing colors, and consider how colors next to each other will mix. Most often, it’s best to keep colors that form brown when blended separate from each other. Unless you are trying to make brown, a few color combinations to avoid include:
- Yellow and purple
- Red and green
- Blue and orange
In addition, avoid mixing the three primary colors (red, blue, and yellow), as they will also create a muddy brown. You don’t need to be a color mixing expert, but knowing the basics will help you design beautiful tie-dyed items.
Apply as much (or as little) dye as you would like. You can coat the entire surface of the ice, or you can leave some blank spots. It’s entirely up to you!
Controlling the Color Vibrancy
As the ice slowly melts, it will transfer the dye onto the fabric. Once it has melted completely, remove your dyed item from the rack. If you used rubber bands to secure it, remove those as well. Lay the item out flat, and examine your work. If there are any blank spots or you would like to add more colors, now is the time. Place ice cubes on the areas you’d like to dye, then sprinkle the powder on top. Wait for the ice to melt, examine your work, and repeat if necessary.
If any spots are too vibrant and intense for your liking, place ice cubes on top and let them melt. This waters down overly saturated areas.
For bright colors, let the dye sit for 8 to 24 hours. For a more pastel look, rinse immediately after the ice has melted. Rinse each item under warm water until it runs clear.
Washing and Caring for Ice Dyed Shirts
Wash your shirt (or other item) using warm water and a small amount of detergent immediately after rinsing. If you dyed several things using different colors, consider washing them separately rather than all together. This helps ensure that the colors will not bleed and cause undesired stains in the wash. After washing, hang the items to dry.

For the first several washes, tie dyed apparel should be washed by itself or with similarly colored garments. This prevents any remaining dye from ruining other clothing.
After the first few washes, wash your tie dyed apparel in cool water. This helps prevent the dye from fading. Always use mild, color-safe detergents, and hang your tie dyed items to dry rather than tossing them in the dryer.
To keep your tie dyed apparel and accessories looking their best for as long as possible, wash using your machine’s gentle cycle. Avoid washing tees and other lightweight clothing and linens with heavy items — like jeans — that can cause friction and fading. Remove clean tie dyed items from the washer immediately to prevent the color from bleeding out. When hanging items to dry, avoid direct sunlight as it can cause colors to fade.
Be mindful of the fabric from which the item is made. When in doubt about laundering, check the care instructions. In addition to helping you prevent fading, following the instructions will help you avoid shrinkage.
Find Pre-Made Tie Dye Shirts to Suit Your Needs!
Conclusion
Learning how to ice tie dye is easy, and anyone can achieve incredible results. Whether you are new to tie dyeing or are just looking for a new technique, working with ice is a fun way to create one-of-a-kind apparel and textiles.
At The Adair Group, we have bulk t-shirts that are perfect for tie dyeing. We also carry a wide selection of other blank apparel, like hoodies and tank tops, for when you’re ready to take your skills to the next level. Shop now to find the perfect blank apparel for your next project!
Image sources
Lonely Turtle/Shutterstock.com
Krakenimages/Shutterstock.com
SpicyTruffel/Shutterstock.com
Macrovector/Shutterstock.com
be-bright/Shutterstock.com
KsanderDN/Shutterstock.com
Arina P Habich/Shutterstock.com
ApisitBurawannint/Shutterstock.com
